Including Tailwind CSS Into a HTML Project
September 10, 2021
Tailwind CSS gives us different setup options, depending on what you use to build your project and what features we want to support.
This post is going to look at some of the options available, including the CDN link and also the Tailwind CLI, using a regular HTML project. The Tailwind documentation also has detailed installation guides if using a library or framework such as Vue, React, or Laravel.
First, we need a project to work with. You can follow along with any existing HTML project, or create a new one to follow along. I am going to add some sample content to work with:
<body>
    <aside>
      <img src="images/logo.png" alt="Healthy Juice Bar Logo" />
      <h1>Healthy Juice Bar</h1>
    </aside>
    <main></main>
</body>
Open in the browser, and it will look pretty standard as expected. Let’s now go over to the tailwind docs and see how we can set this up:
- https://tailwindcss.com/docs/installation
To start, scroll to the "Using Tailwind via CDN" section. This gives us a link to drop into our project:
<link href="https://unpkg.com/tailwindcss@^2/dist/tailwind.min.css" rel="stylesheet">
A CDN is a content delivery network and it is a way of having our content, in our case the tailwind CSS file, available across the world in multiple servers or data centers.
(You can also see the contents of this file if you copy/paste the href link into the browser)
Add the CDN link to the head of the HTML page:
  ...
  + <link href="https://unpkg.com/tailwindcss@^2/dist/tailwind.min.css" rel="stylesheet">
  <title>Healthy Juice Bar</title>
</head>
Reload the browser and this link now makes our content look a little different.
First of all, this is good because it means Tailwind has applied.
And this happens because of a set of base styles Tailwind will apply. These base styles are not really intended to add styling to our project, instead, they are a set of styles to make our sites render more consistently across browsers and reset to some defaults. If you have used normalise.css in the past, a lot of it is based on this.
What about Tailwind utility classes? Well, these are also available with the CDN too:
<aside class="p-4 bg-gray-800">
    <img
        class="h-32 w-32"
        src="images/logo.png"
        alt="Healthy Juice Bar Logo"
    />
    <h1 class="text-white uppercase font-medium tracking-wider text-2xl">
        Healthy Juice Bar
    </h1>
</aside>
This CDN setup is fine for learning Tailwind and simpler projects. But there are also some drawbacks of using it.
Back over to the Tailwind docs, and into the installation section from before:

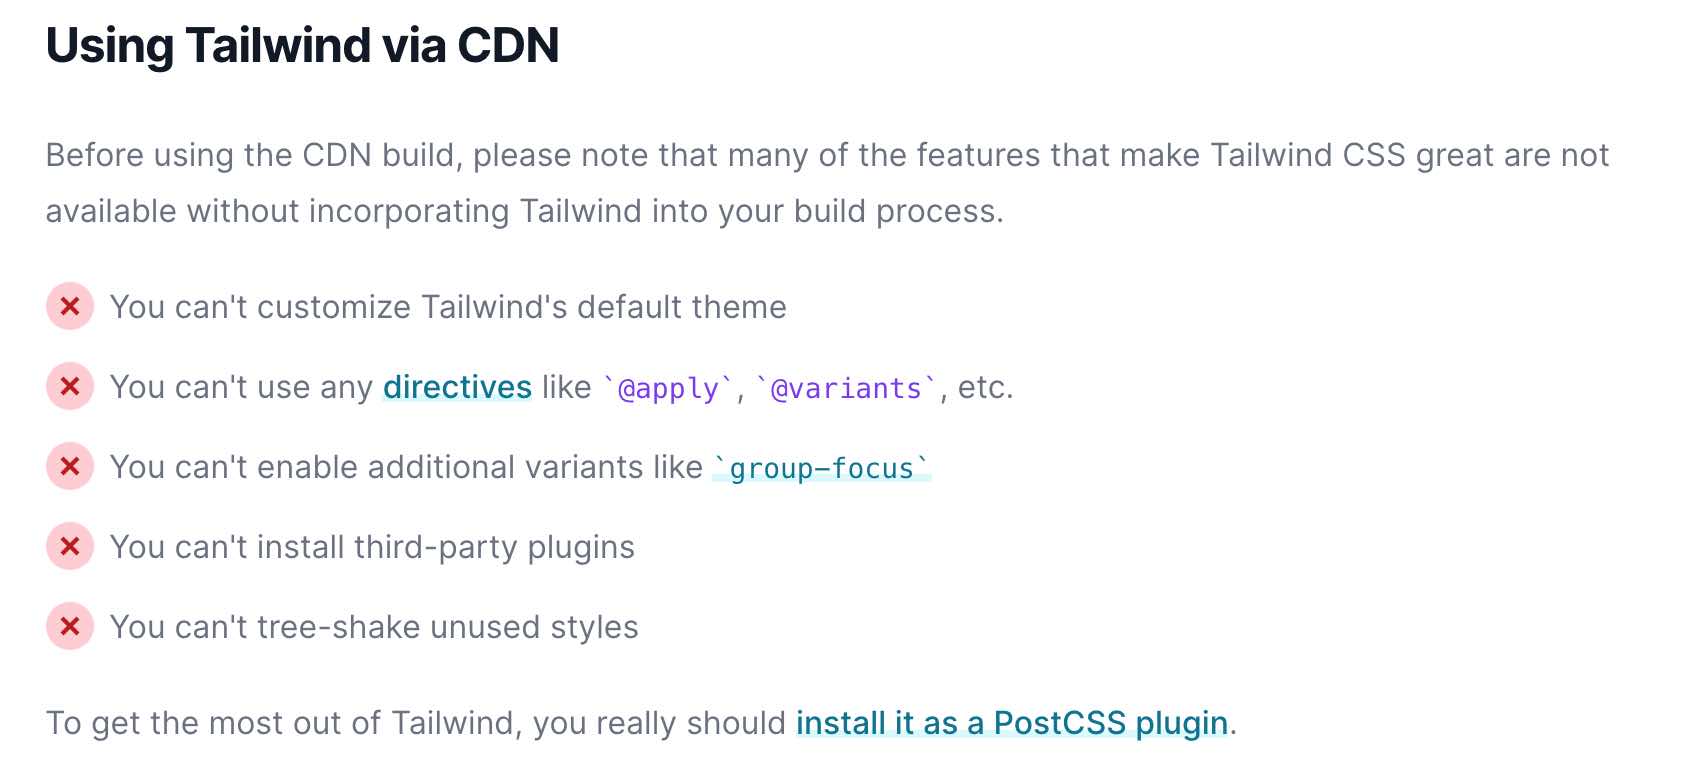
In the CDN section, we have a list of the issues using when this CDN.
Yes the CDN is convenient, but it has restrictions with the customisations we can make. Also, we can not use directives. And we can not do something called tree shaking. Tree shaking is a way to remove any unused styles from our final build, making the file size smaller.
So to help with this we can use the Tailwind CLI (https://tailwindcss.com/docs/installation#using-tailwind-cli).
To do this though we need to do a few things first. We need to install Node and use a few terminal commands.
This can often scare people off but it really is just a few small steps which I will guide you through.
For Node, we need to go to Nodejs.org and download/install the latest version.
Then we need to open up a terminal. I am going to open up the one built into VS Code > terminal > new terminal.
This should automatically open up in our project folder. If you prefer, you can also use a standalone terminal if you have one setup.
To test Node is installed correctly, type this into the terminal:
node -v
If you get back a version number, you are good to go, if you see an error, you will need to go back and install Node correctly.
From the Tailwind documentation, you will see a command to run in the terminal:
npx tailwindcss -o tailwind.css
This npx command is available since we just downloaded Node.js, which also comes with both NPM and the NPX tool.
Copy this command, paste it into the terminal, and hit enter.
Once this finishes, you should now see our own copy of the Tailwind CSS file in the sidebar. (tailwind.css)
Open this up, and first, we see the base styles provided to make our site render more consistently across different browsers. It does things like resetting any padding and margin values, setting default font families, and generally giving a consistent appearance to HTML elements. This is the same file we link to using the CDN.
You can also search this file and see how each utility class corresponds to a CSS property. For example, this is how the bg-gray-800 class looks in this file:
.bg-gray-800 {
  --tw-bg-opacity: 1;
  background-color: rgba(31, 41, 55, var(--tw-bg-opacity));
}
And here is the gray background we are using. This links to a CSS background color property and this is how utility classes work. A class is usually linked to a single CSS property.
The last thing to do is to swap the CDN link for this new local file:
<link href="tailwind.css" rel="stylesheet" />
Back to the browser and the Tailwind styles should still apply, but now using the local tailwind.css file.