How to set up your first web project with Visual Studio Code
April 11, 2020
Sometimes as more experienced developers, we can often assume something we do everyday, such as starting a new web project in a code editor, is simple.
To some it may be, but this kind of thing can also be a step into the unknown when first starting out.
This post was inspired by a beginner student who was struggling to set up a new web project in Visual Studio Code, and struggling with the documentation.
Hopefully these steps here will also help others too when starting out.
First things first, we need to download Visual Studio Code from https://code.visualstudio.com/
VS Code is available for Mac, Windows and Linux. From the home page, click on the download and install for your operating system.
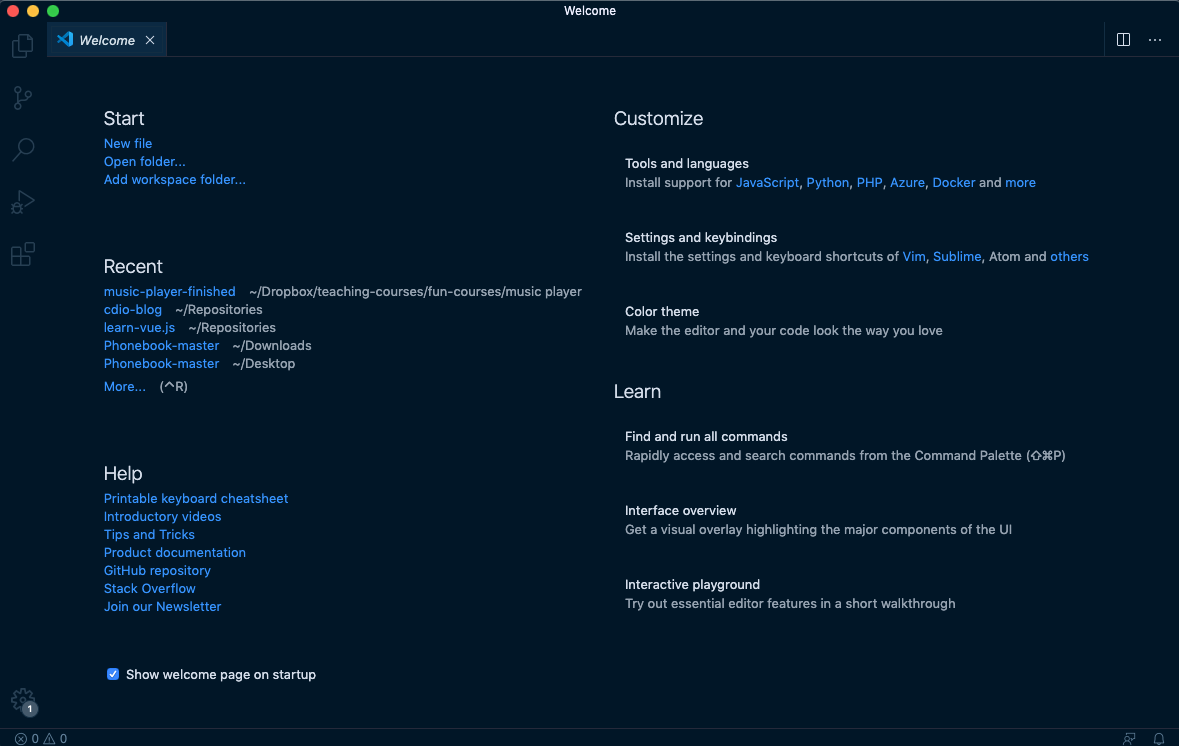
After going through the installation steps for your machine, open VS Code and you should see a screen like this:
To actually write some code, we need a file to do this in. We can create a file at this stage, but generally we want a project folder, to store all of our files, folders, images etc all related to this project.
Create a new folder (right click > new folder) anywhere you want it stored (Documents, Desktop etc).
Then drag over this folder, and drop in into the Visual Studio Code welcome screen from above.
You should now see the folders name in the sidebar on the left:

This now means any new files or folders we create, will now be saved in our project folder.
I am going to base the next steps on creating a HTML file for a web project, but the steps are the same for any format or language.
To create our first web page, generally the index.html, we need to create a new file, for this we have multiple options.
Either:
- Menu > file > new file
- Mac users: command + n. Windows users: control + n
- Hover over project folder name in sidebar, and an icon will appear to create a new file or folder
This will open up a new, untitled file, which I generally save immediately.
To save we also have multiple options:
- Menu > file > save
- Mac users: command + s. Windows users: control + s
Opening a save window to add a name to this file, which I am going to call index.html. This should automatically be set to save in your project folder.
If you are not creating a html file, your .html extension can be replaced with the extension for your type of file or language (eg. .py, .css, .txt).
Great, so what now?
Well, the content of this file are up to you and your project, but for my web example, a skeleton project starter will be something like this:
<!DOCTYPE html>
<html lang="en">
<head>
	<meta charset="UTF-8">
	<meta name="viewport" content="width=device-width, initial-scale=1.0">
	<title>The next facebook</title>
</head>
<body>
  <h1>Welcome!</h1>
</body>
</html>
Once you have some content, you will want to see it in the browser.
First, save your work.
The to open in the browser we have the following options:
- Open the project folder, double click on the new index.html file, this will open up in the default browser (since it has the html extension)
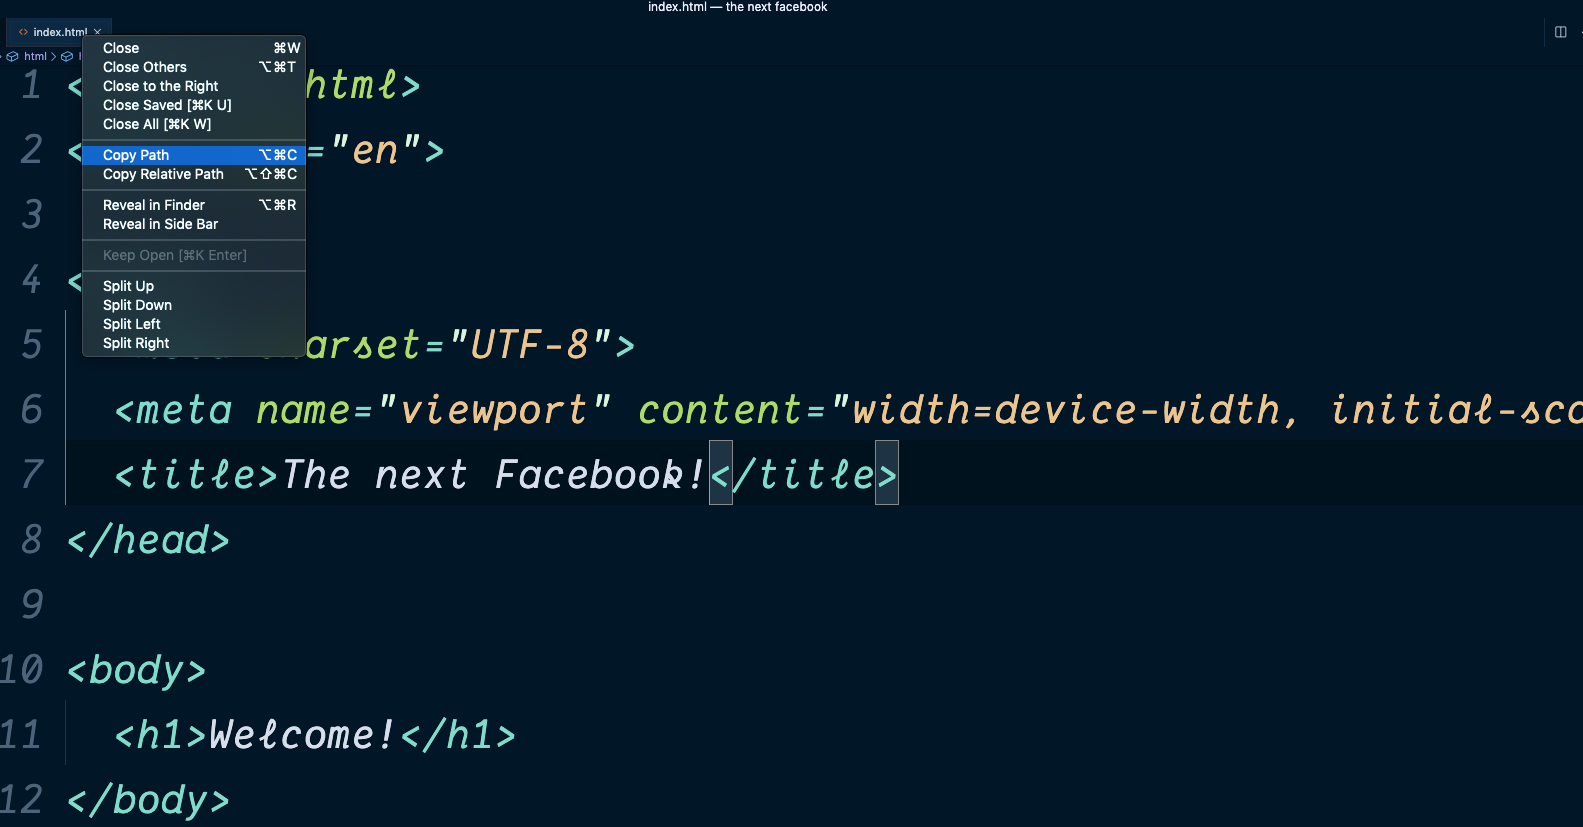
- In Visual Studio Code, hover over the file name tab > right click > copy path:
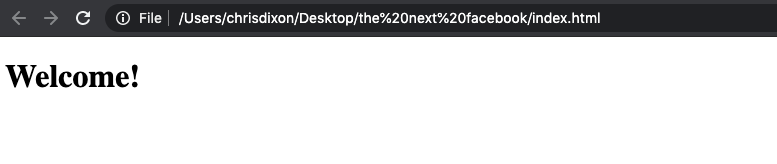
Then this link can be pasted into the browsers URL bar, and you should now hopefully see your work:
And thats it, don't forget to save your changes and refresh the browser to see the updates you make!